When the Garmin Approach R10 came out in 2021 it was sold out for months. It was arguably the biggest golf tech release of the year, as it was the first portable launch monitor to provide simulator features (well) under $1,000.
It offers so much, that nearly 4 years later, it’s still one of the best products in its class.
But after the success of the R10, rumors started swirling that Garmin was working on a much more high-end sibling.
I’ve heard rumblings for years, but no one seemed to know if 1) this product actually existed or 2) what it would actually bring to the table.
Well, I’ve got good news, we don’t have to wonder anymore, as the Garmin Approach R50 is now out in the wild.
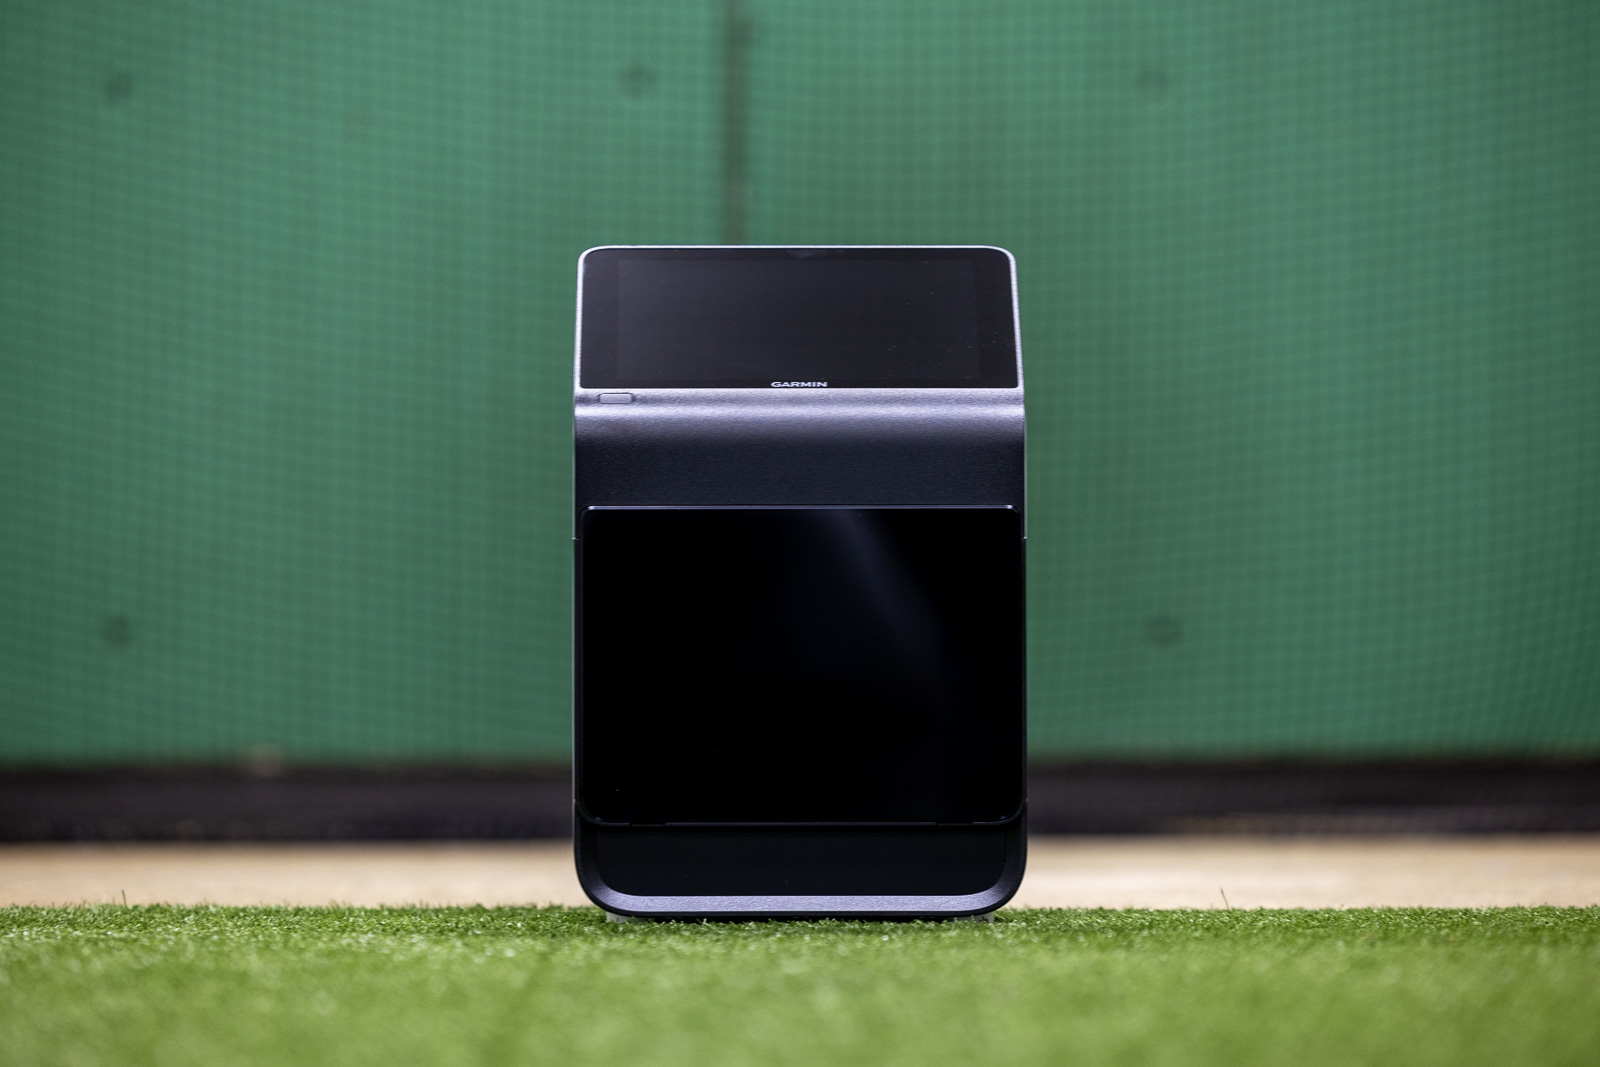
But what’s even better? I got a surprise email 4 days ago that said “There’s an R50 on it’s way to you, you’ll have it tomorrow.”
So today? I get to share my hands-on first impressions of the brand new Garmin Approach R50 launch monitor – and oh man, there’s a lot to share.
To be clear, this is not a full in-depth review. I’ll release that within the next week after I’ve had more time with the unit. In this post I’ll tell you all about what the R50 is, its features, as well as my initial impressions after a few hours of using it.
Ready? Let’s jump into it.
My Full Review of the Garmin Approach R50:
I’ll be updating this post this week to reflect my full review of the R50 after spending hours with it.
But until then, you can watch my full, unbiased review here:
The Approach R50 is the world's first launch monitor and simulator all in one unit. And spoiler alert, it's just as cool as it sounds. If you want one? Buy one.
What is the Garmin Approach R50?
Before we get too far into the details of the product, let’s talk about what it actually is.
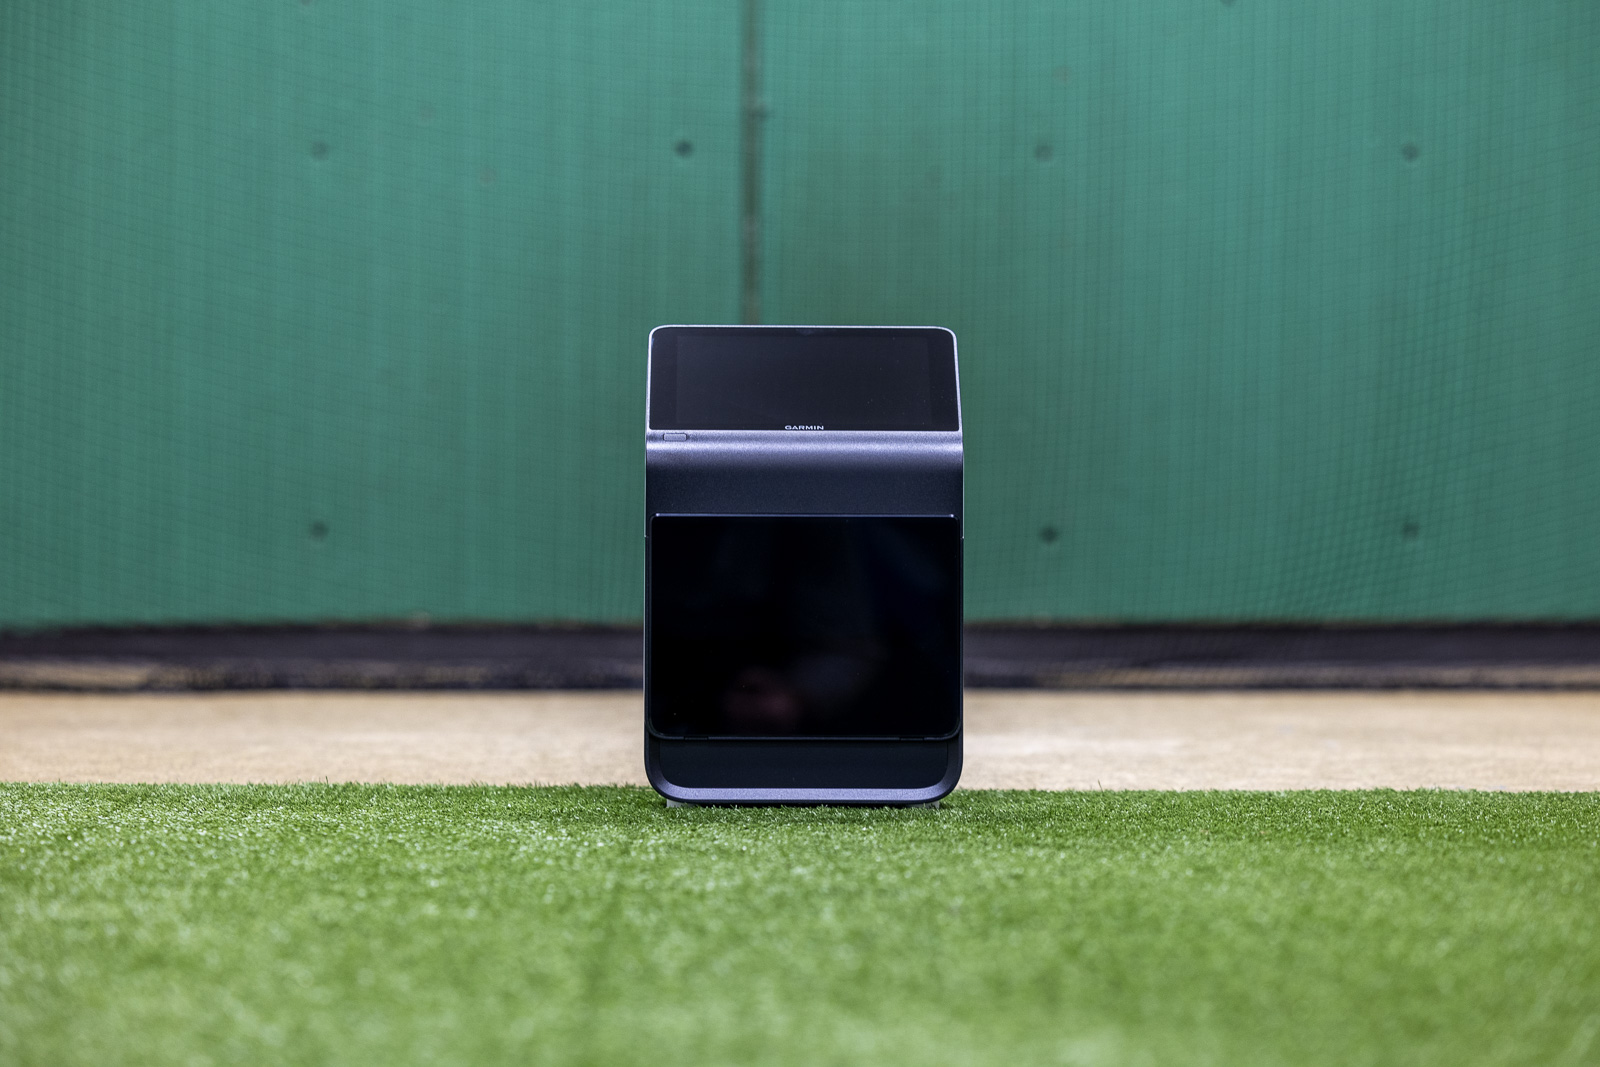
The Garmin Approach R50 is a photometric launch monitor and simulator all in one.
That’s right, it’s the first launch monitor to also feature simulator capabilities in one standalone unit.
It provides 15 different ball and club data points that are accurately measured from its 3 high-speed cameras on the built-in 10″ screen.
It’s compatible with the Garmin Golf App, but it will run an updated version of Garmin’s Home Tee Hero software directly on the unit itself. You can then use an HDMI cord to connect to an external device like a TV or projector – more on that in a bit though.
First Impressions of the Garmin Approach R50
Upon receiving the R50 and taking it out of the box, I had two very obvious initial thoughts.
The first, this thing is big.
It’s easily the largest of all the photometric launch monitors I’ve tested, and is roughly 50% bigger than the Bushnell Launch Pro.
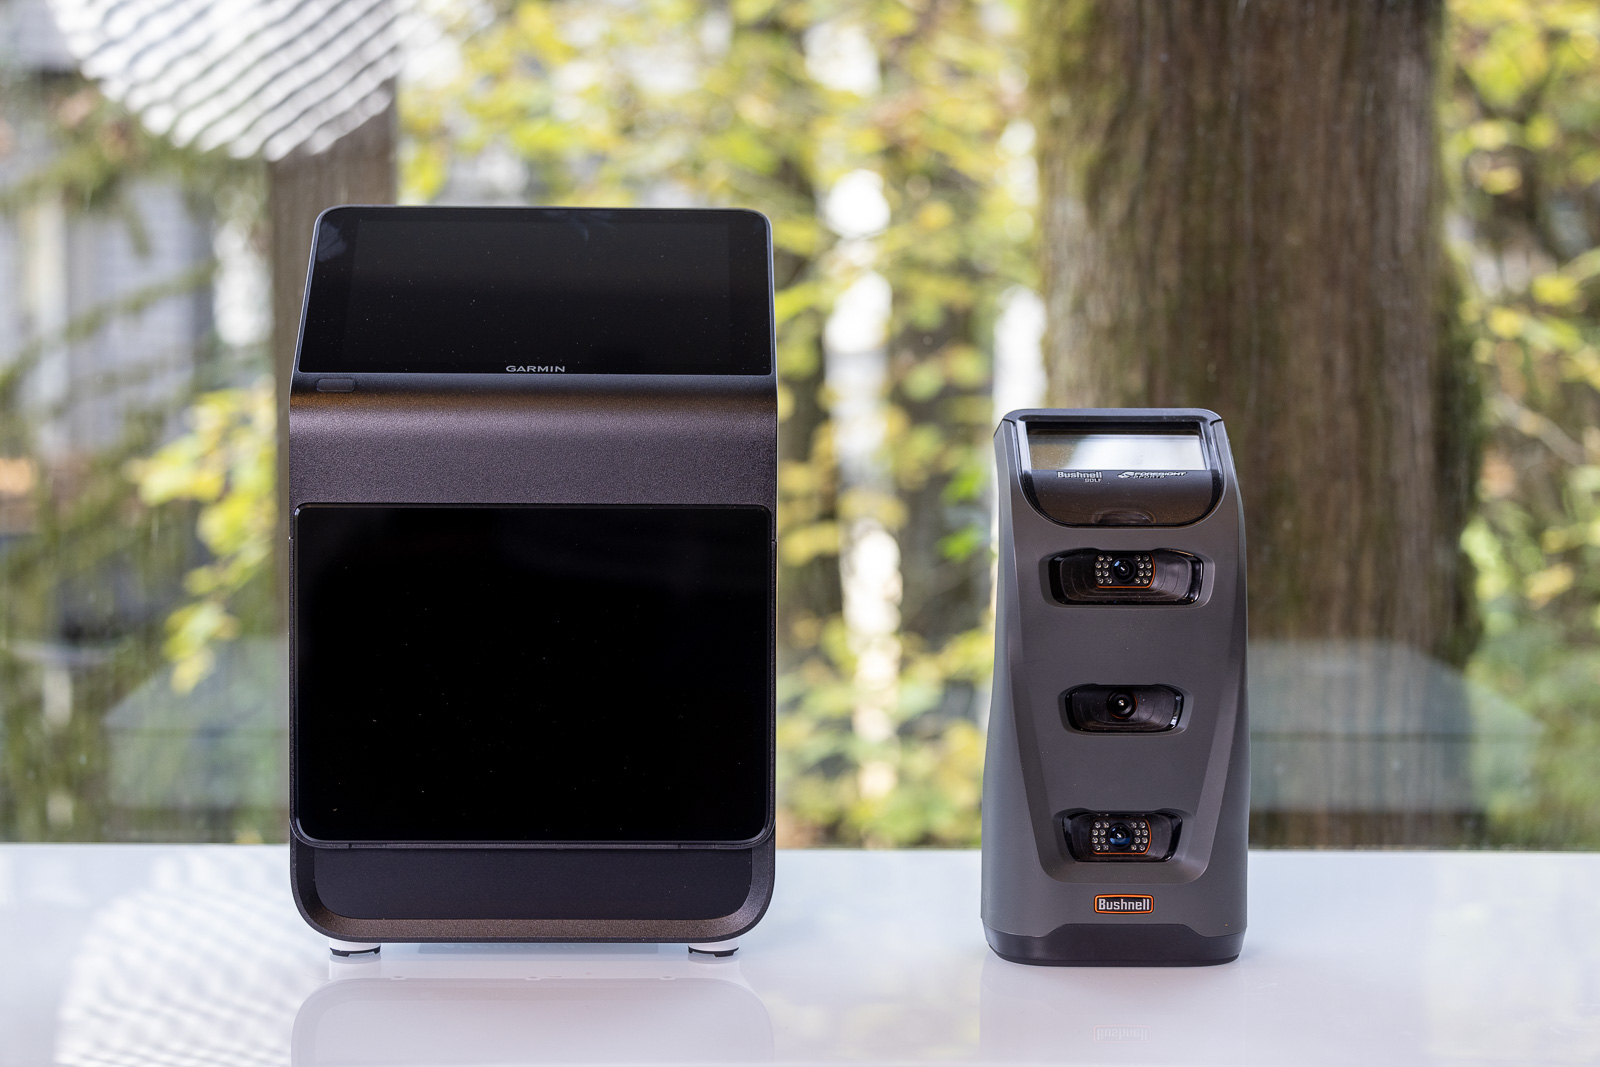
The good news is that despite the size, it doesn’t feel that big when using it. It actually isn’t much heavier than the Launch Pro, and the way it’s designed with a built-in handle behind the screen actually makes it very easy to pick up and move around.
This brings me to my second major first impression: the case.
The R50 comes with a seriously impressive carrying case.
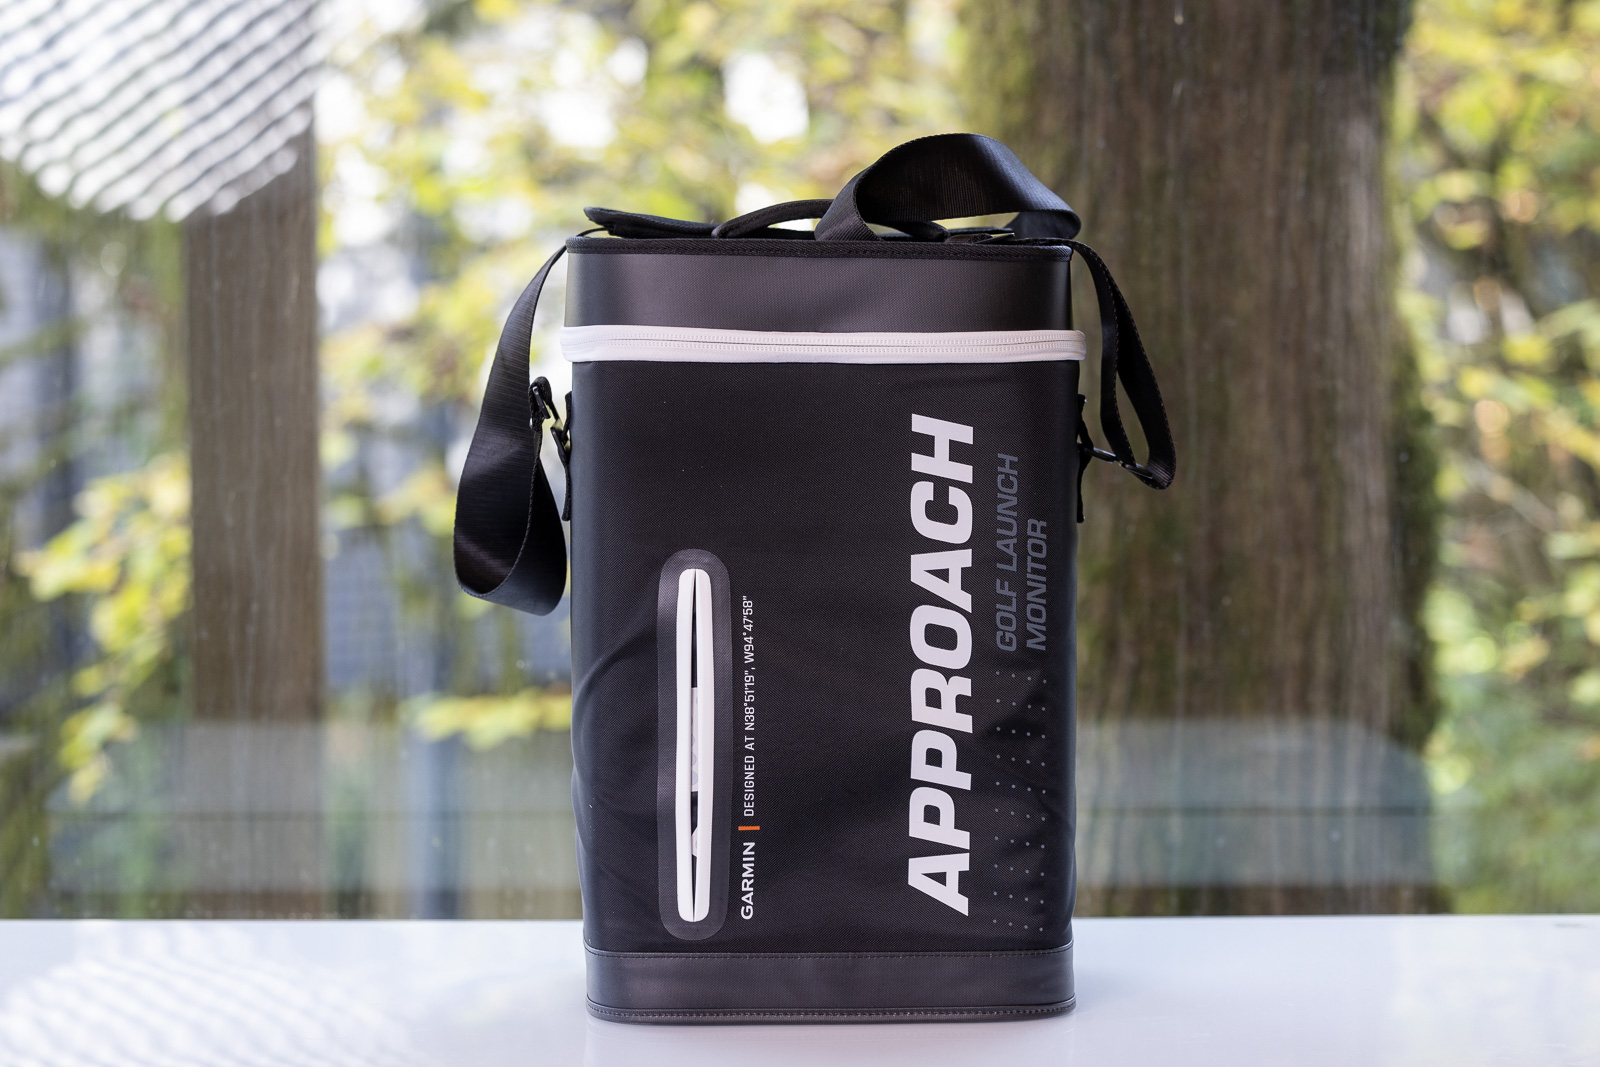
It’s a very welcome feature in that it makes the size of the unit even less of an issue since it’s so easy to transport.
The only other launch monitor I’ve used that comes with a case as robust as this is the Uneekor Eye Mini. And considering the premium price point of the R50, it’s a welcome addition.
There are three ports in the back: USB-C , HDMI, and power.
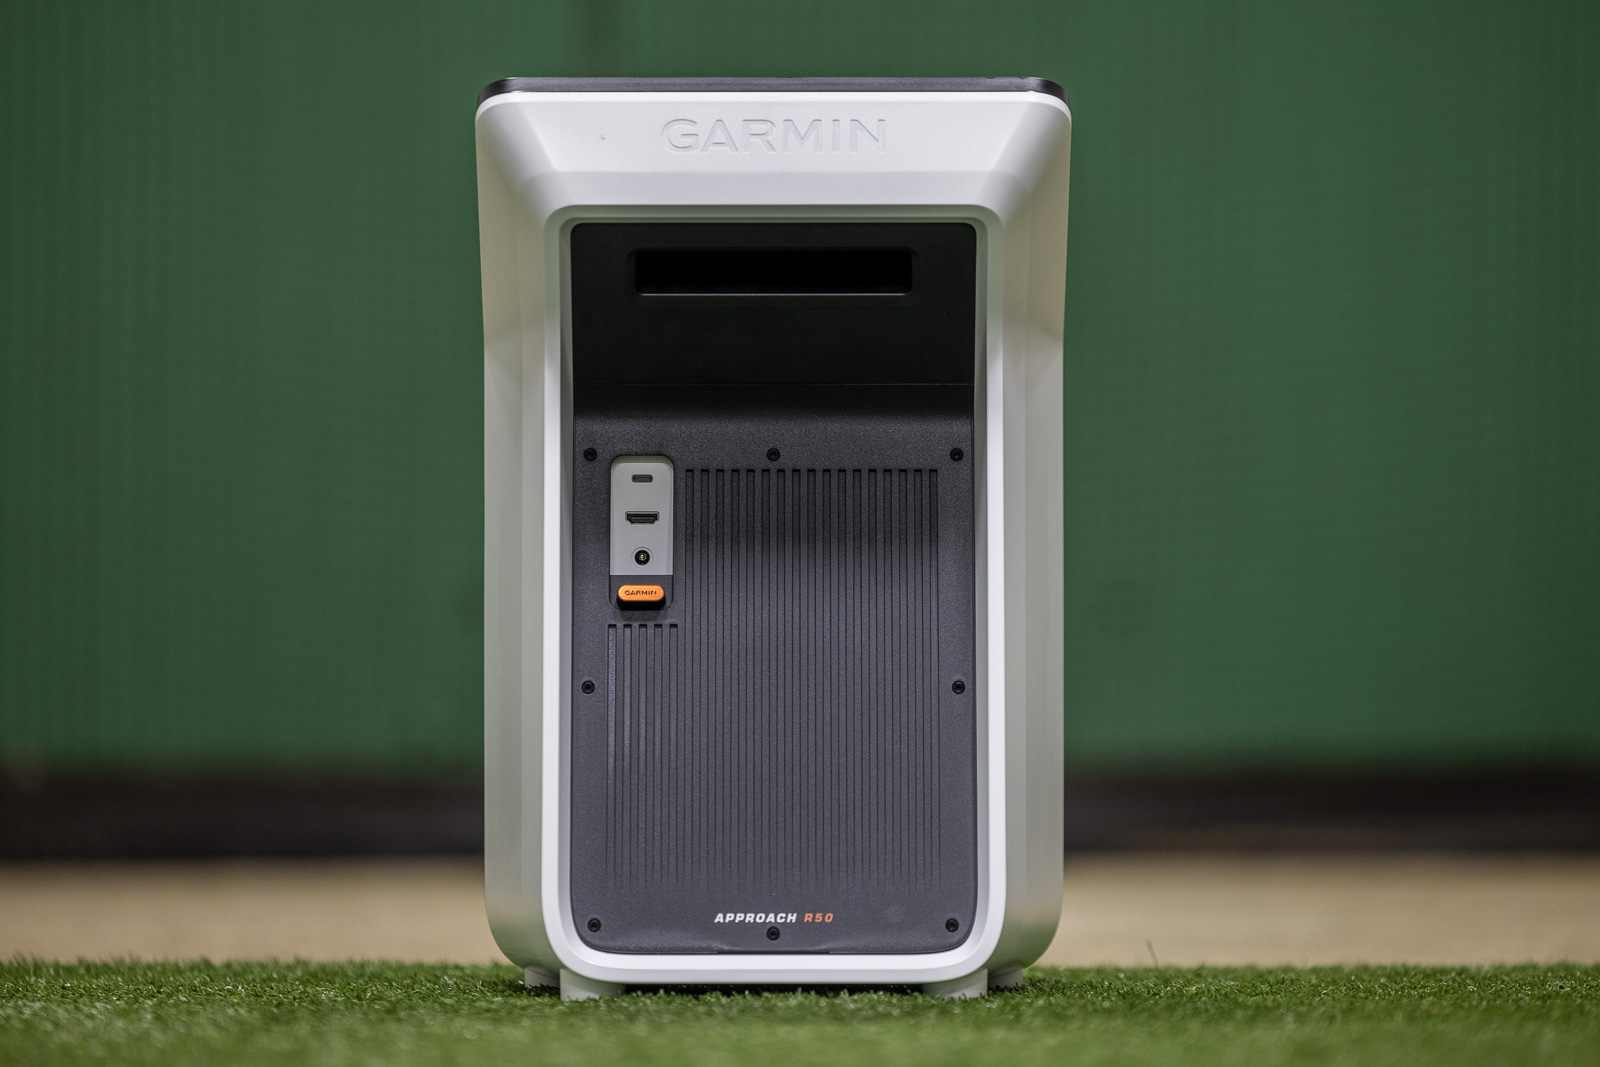
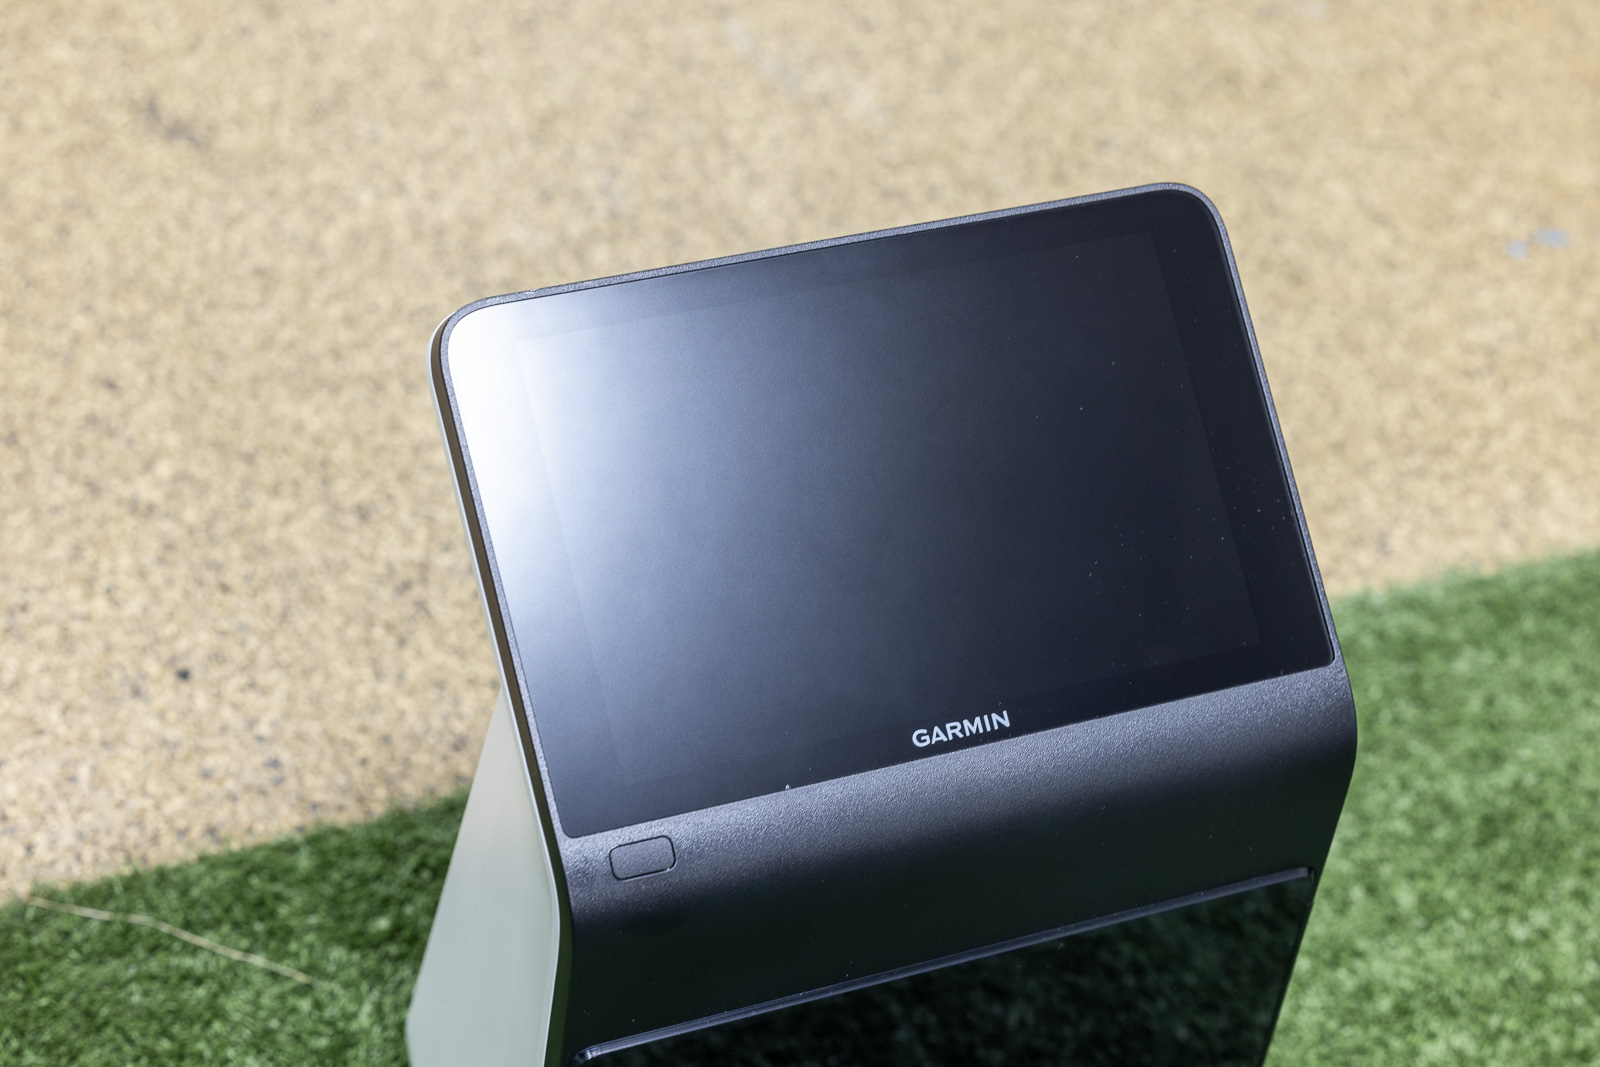
Otherwise, my initial thoughts upon taking it out of the box is that it’s a really sleek-looking unit. The all-black design looks good, and the screen dwarfs anything else on the market in both size and quality.
That said, since it’s a touch screen, it does seem to be a bit of a fingerprint magnet.
How is the Setup on the R50?
Most of the latest golf launch monitors are pretty straightforward to setup, but the R50 may be the easiest of all of them.
Everything about the R50 setup process has been unbelievably smooth.
Connecting it to WiFi is made very easy by the large screen with a full keyboard.
Once connected, you either create or login to an existing Garmin Golf account.
This has worked flawlessly for me, and it imported my personalized bag and club info directly onto the R50.
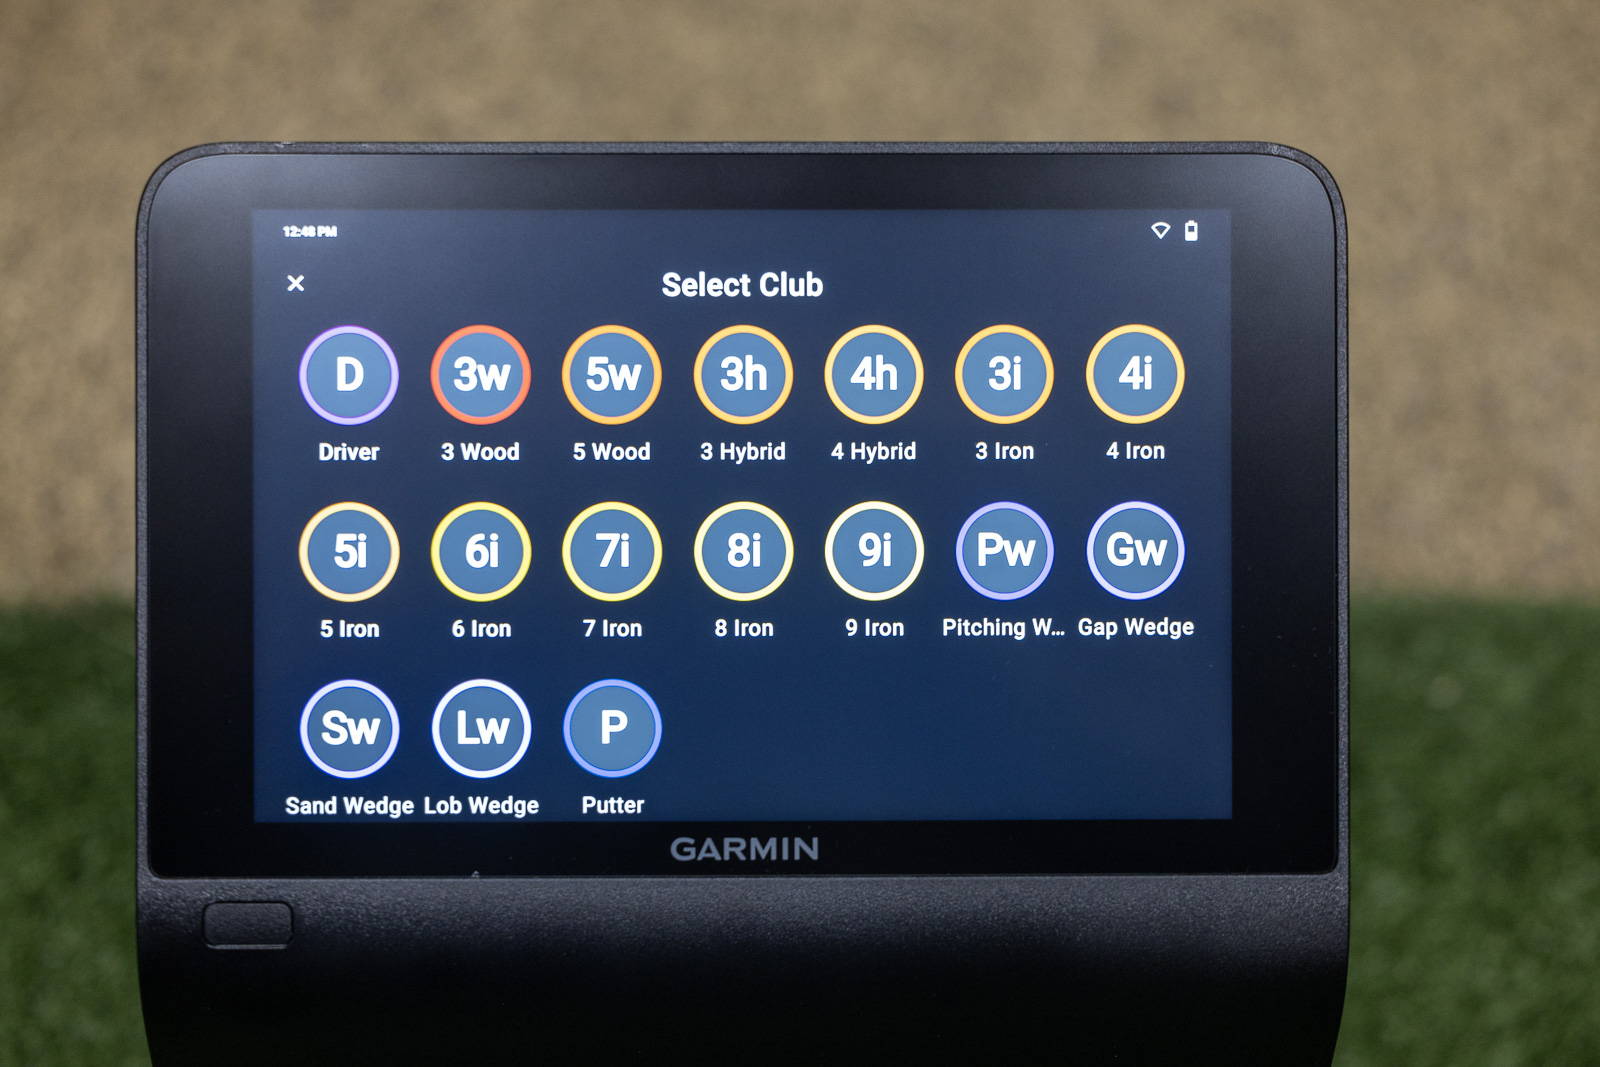
The Touch Screen and User Interface
One of the biggest surprises for me so far is how responsive the touch screen is. In a world where we’re used to iPhone-like responsiveness, I’ve found other products can feel a little slow or laggy in comparison.
Not the R50. Navigating through the menus and screens feels great. For a product that relies so heavily on its screen, it had better work well. And fortunately, it works great.
Better yet, the user interface is excellent.
It’s very easy to navigate, customize, and use both the simulator and practice features.
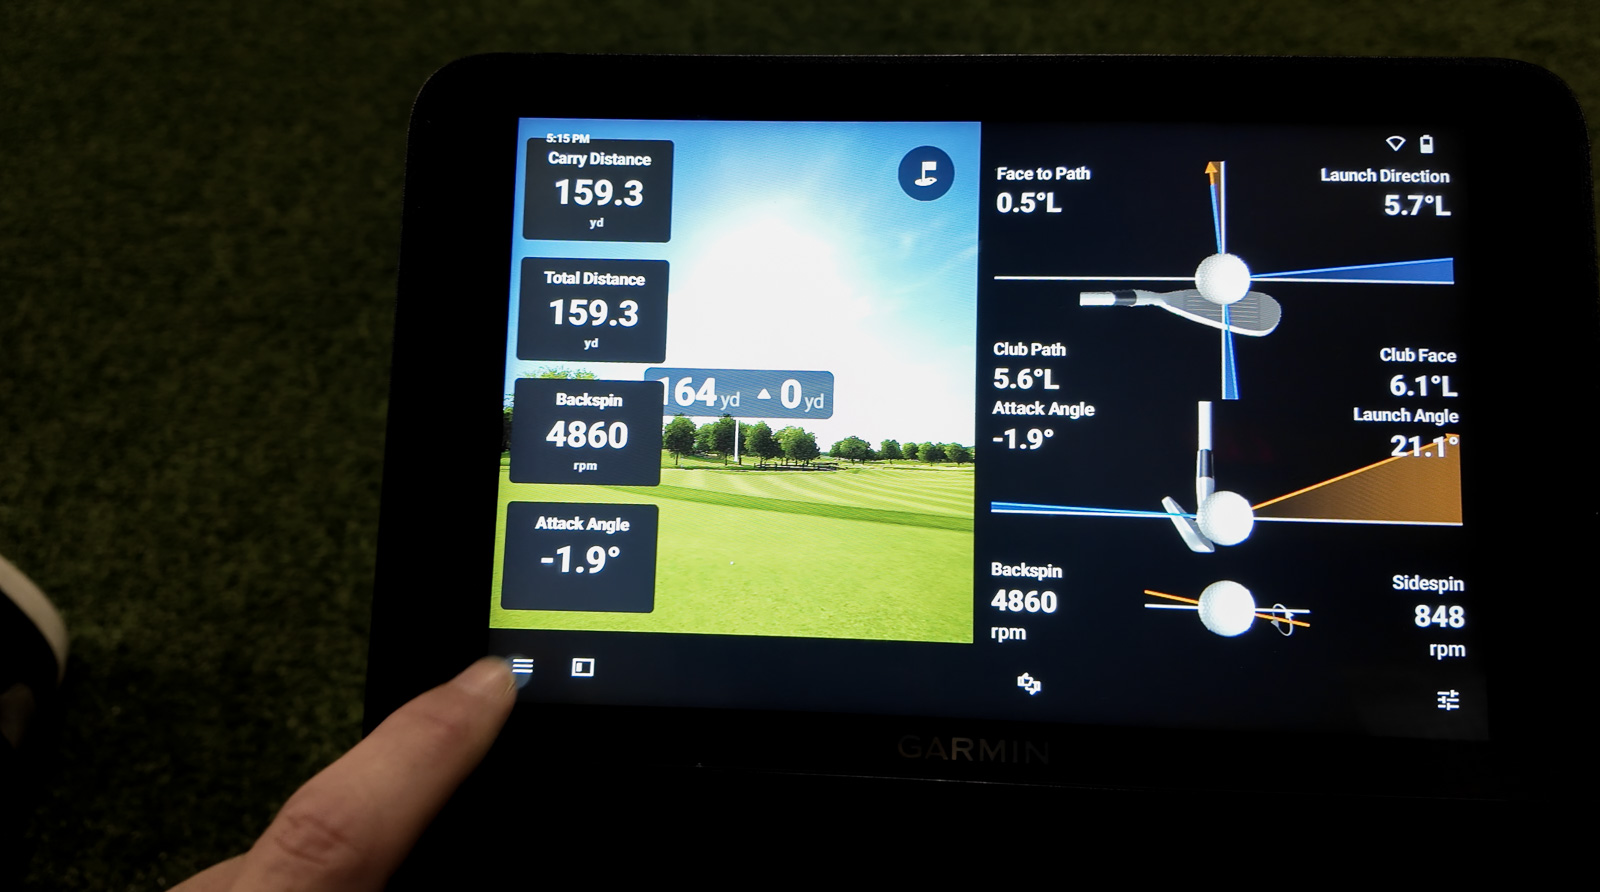
It also has a great screen for showing you if the ball is in the hitting zone or not. In real time it will show you exactly where the ball is registering, and once it’s in the right spot both a green box on the screen will appear, and a green light at the base of the unit will show that it’s ready for use.
Once you’re logged in, there are three primary modes you can use:
- Practice
- Home Tee Hero
- Third-Party
Let’s look at each real quickly.
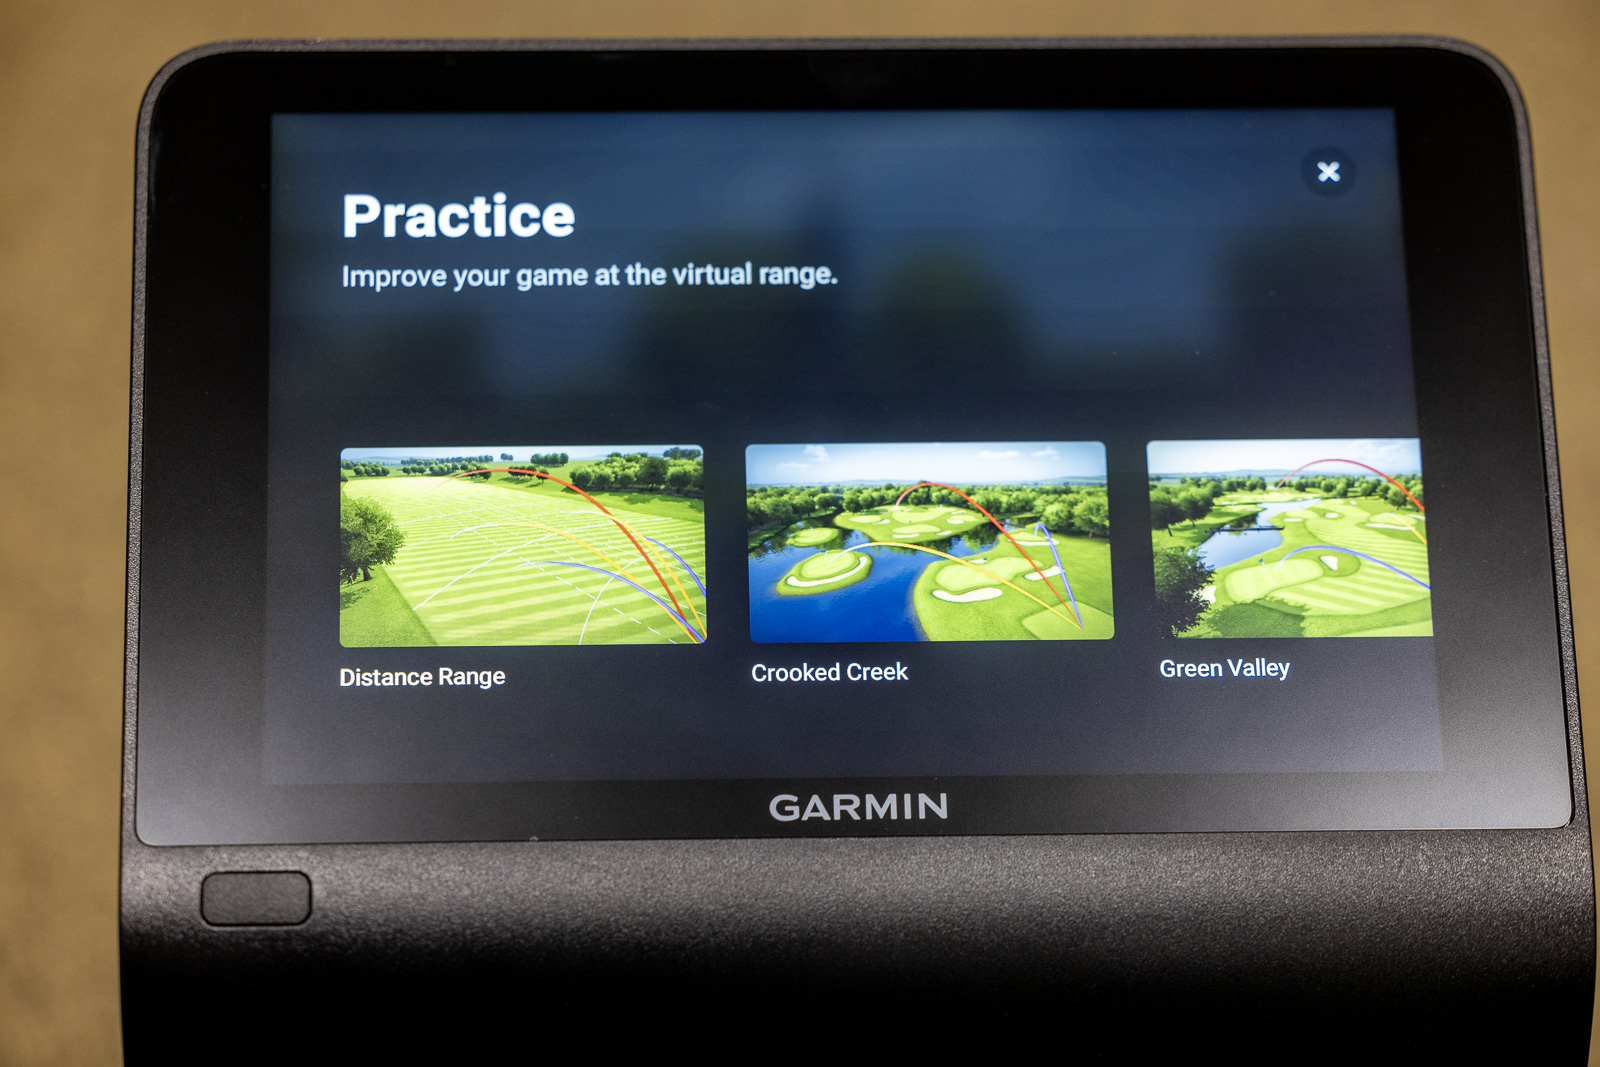
Practice
The Practice mode is exactly what you’d expect.
There are four virtual ranges for you to choose from, and you’re able to customize the screen in a variety of ways depending on what you want to see.
So if you want half the screen to show your shot tracer range, and the other to show all your club data – you can do that.
Want a full list of metrics and the Impact Camera? No problem.
Want to see the range on your projector screen, and all the metrics on the R50 itself? Done.
It really allows you to get the exact data you want to see very easily.
A lot of the graphics and interface feel similar, but upgraded, to what you see in the Garmin Golf App when using the Approach R10.
Play (Home Tee Hero)
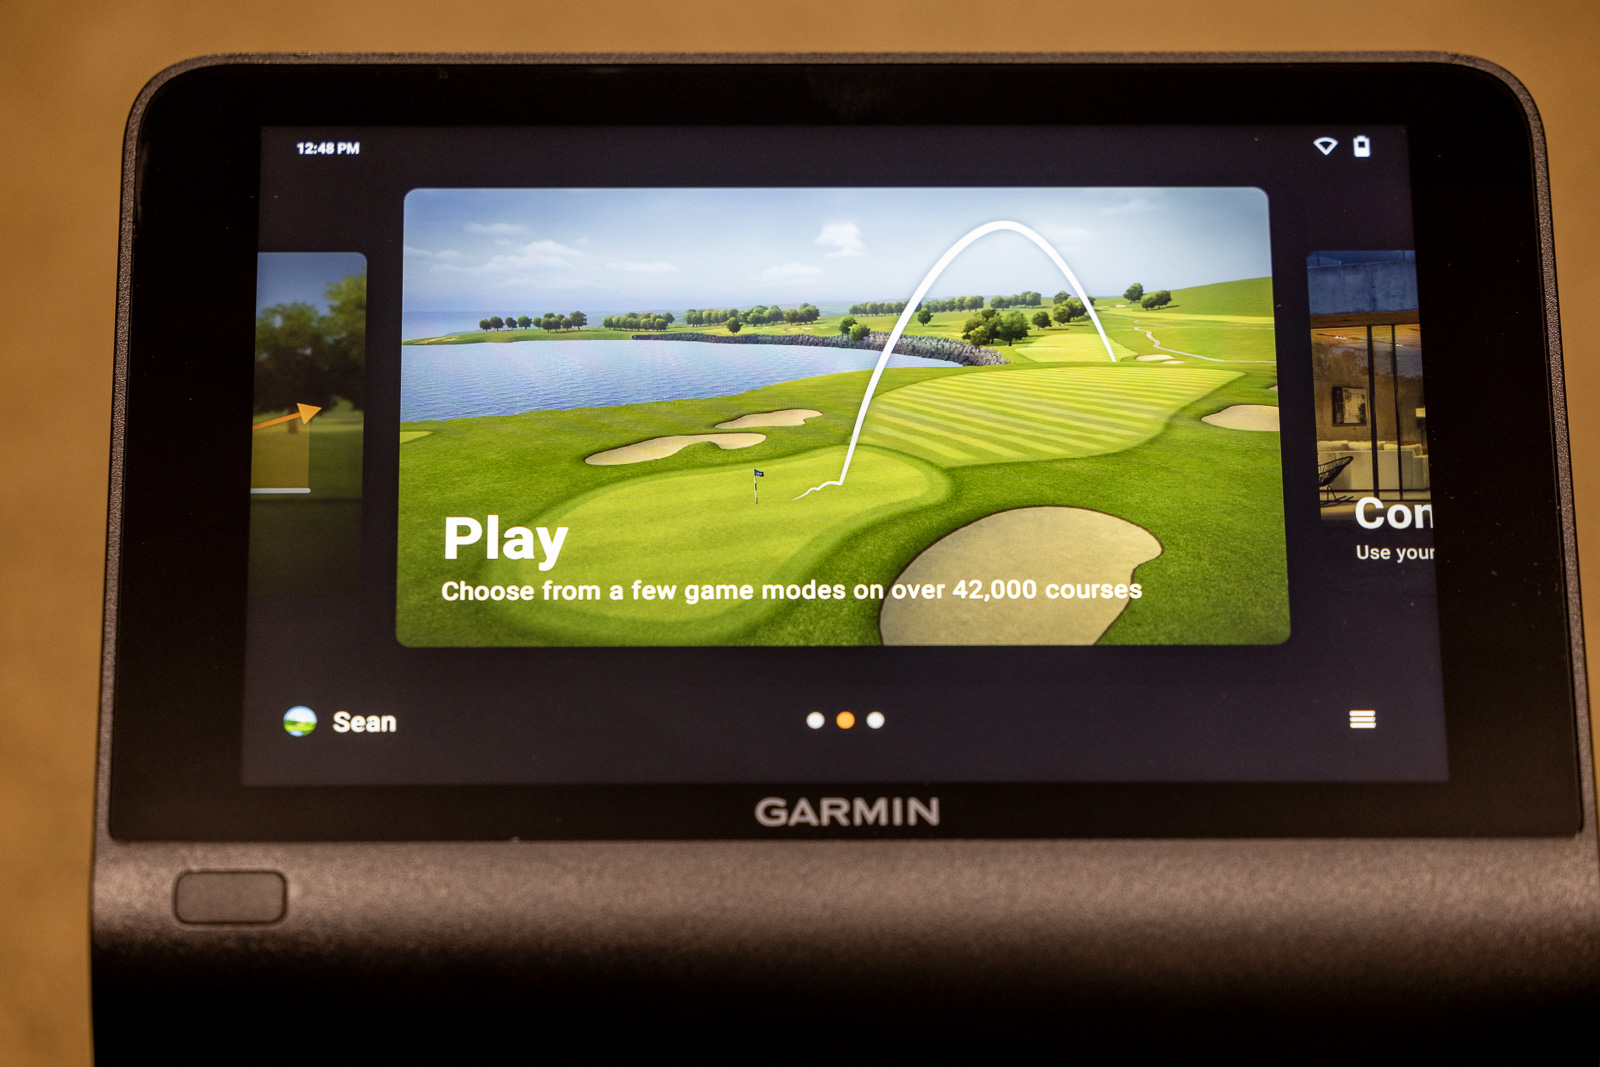
This is where the “built-in simulator” capabilities come into play.
You can play over 42,000 courses directly on the Approach R50 through Garmin Home Tee Hero.
This is an updated version to what you’re able to get on in the Garmin App using the R10.
You can select basically any course you can possibly imagine, set your desired parameters, and play true simulated rounds of golf.
You can easily download any courses you want as well if you plan to take to an outdoor range and won’t have WiFi available.
In my experience, I’ve found that it can be pretty cumbersome to use modes like this on other devices where you have to use a phone or iPad to set it up – especially if you don’t have a dedicated indoor setup.
But with having such a large screen, I’ve found myself really enjoying playing these simulated rounds without any additional projector or screen. The screen on the R50 is big enough, and positioned well enough, to make it enjoyable to use this mode directly on the unit.
It also just simplifies everything when you don’t have to connect to an app – which I’ve enjoyed.
In order to use Home Tee Hero, you will need a Garmin Golf Subscription, which is $9.99/month or $99/year.
Not ideal, but also in the world of launch monitor subscriptions, this one is pretty affordable.
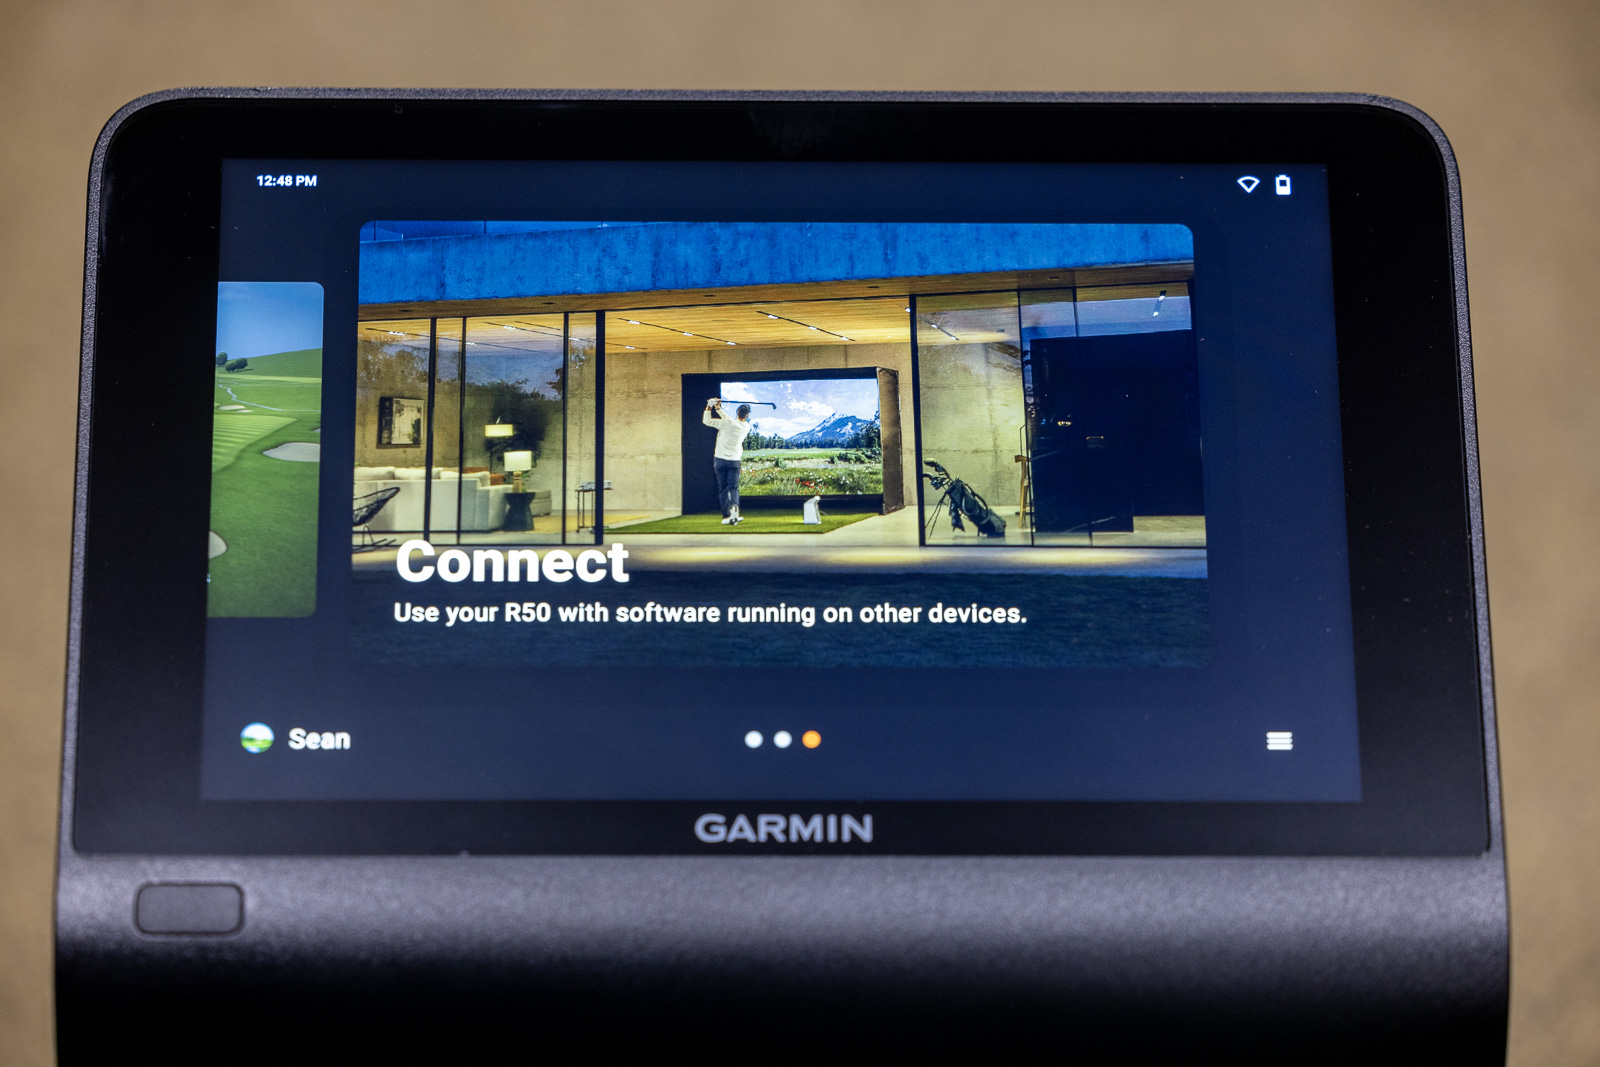
Connect (Third Party Simulator Access)
And in case Home Tee Hero isn’t enough of a “true simulator” for you, then it will also be compatible with GSPro, e6, and Awesome Golf.
You will need to use a separate device like an iPad or PC to use third-party solutions, so you can’t use these on the built-in screen.
When you buy an R50 you’ll get 5 e6 Connect mobile courses for free.
One of the best features of the R50 is that you don’t need a subscription to use third-party solutions. So for instance, with the Launch Pro, if you wanted to use GSPro, you would need their $500/year Gold Membership just to use any third-party simulator on the uniut. Then with GSPro costing $250/year, you’re looking at $750 a year just to use GSPro on that device.
With the R50 you don’t have to pay anything other than the GSPro, Awesome Golf, or e6 annual fee – which is great to see.
What Metrics Does the R50 Provide?
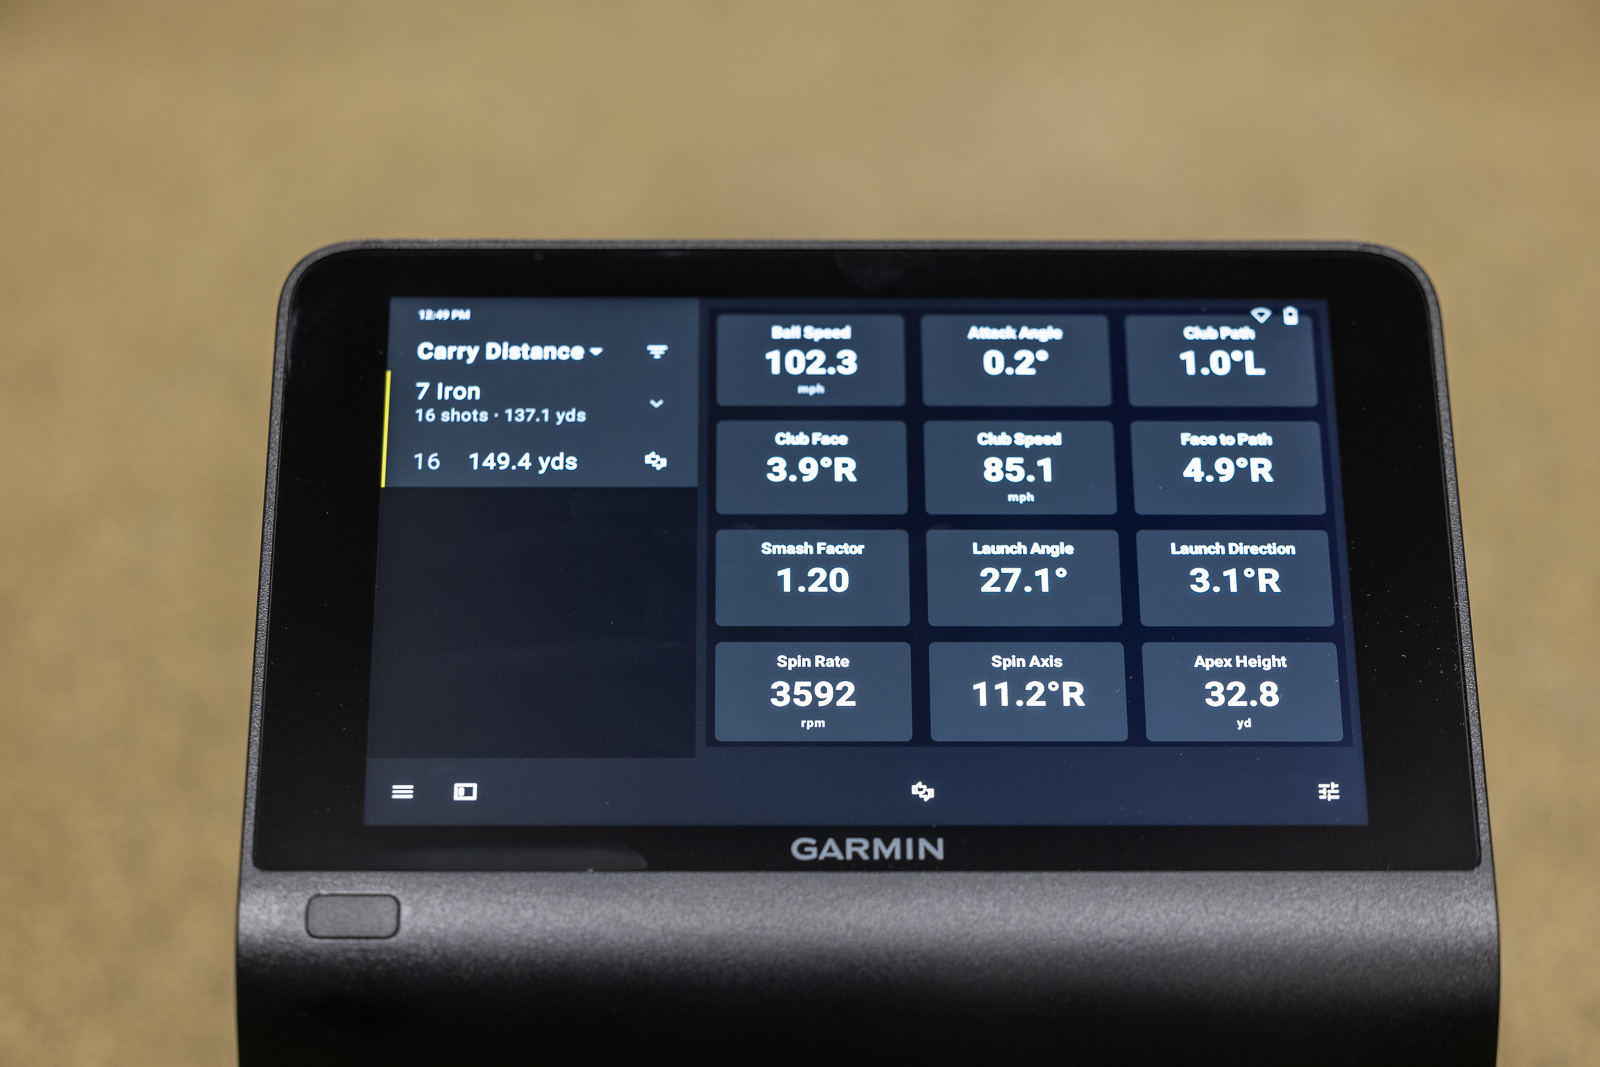
The R50 provides 15 different ball and club metrics, that are directly measured by the device as opposed to calculated using an algorithm as is the case with the less expensive R10.
The metrics you get with the R50 are:
- Carry Distance
- Total Distance
- Backspin
- Sidespin
- Spin Axis
- Attack Angle
- Launch Angle
- Launch Direction
- Apex Height
- Club Path
- Club Face
- Face to Path
- Club Speed
- Ball Speed
- Smash Factor
And as mentioned, fortunately, it’s very easy to customize the data points to see exactly which metrics are important to you.
As of now, there’s no compatibility with Garmin Golf watches, which is something I’d love to see in the future.
The Approach R50 is the world's first launch monitor and simulator all in one unit. And spoiler alert, it's just as cool as it sounds. If you want one? Buy one.
How Much Does the Garmin Approach R50 Cost?
The Garmin Approach R50 has a retail price of $4,999.
If you’d like access to the Home Tee Hero features, you will need to have a Garmin Golf Membership which is $9.99/month or $99/year.
How Easy is it To Connect to an External Device?
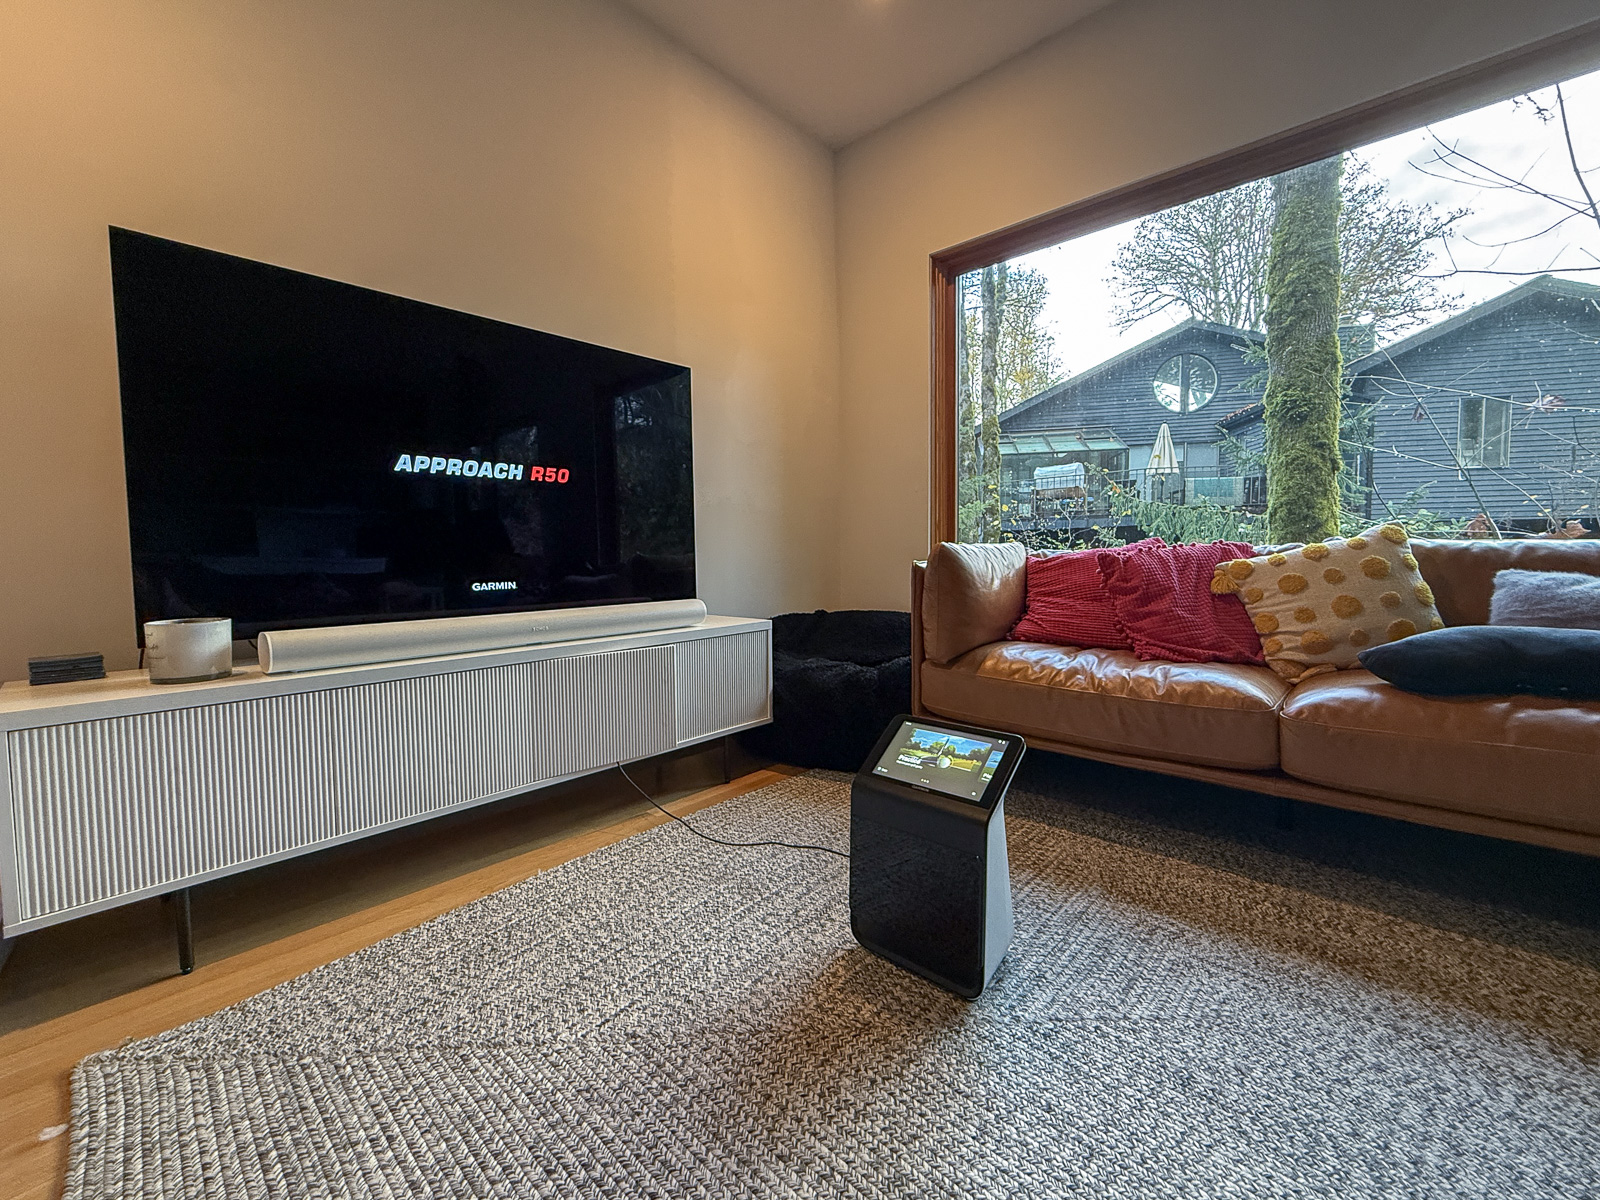
I can’t recall another launch monitor I’ve used that has an HDMI input.
With the R50 this is the primary way you’ll connect it to an external monitor, since it’s both the computer and the launch monitor.
Connecting it couldn’t be easier. Literally, you plug in an HDMI cord to the R50 and an external TV or projector.
That’s it. It comes up and starts working right away.
And the user interface makes it very easy to select what you want on the R50 and what you want on the monitor.
So if you want all your data metrics on the R50, and want the simulated round on the monitor for instance? That’s incredibly easy to setup.
Final Thoughts on the Garmin Approach R50 and What’s to Come
Overall, I’ve been incredibly impressed by what I’ve seen of the R50 so far.
Having such a high-quality built-in screen really enhances the usability and the flexibility of the device.
Even if it didn’t have Home Tee Hero built in, it’d be one of my favorite launch monitors to use. So having that? It’s icing on the cake.
However, at $5k it’s not a cheap device – so it won’t be for everyone.
Within the next week, I’ll be updating this post to be a proper full review.
In it, I’ll look at the accuracy of the unit, how it compares directly to other competing products, and any features in particular that I love, or that seem to be missing.
But my first impressions after just a few hours of use, are that the R50 has been worth the wait. This is truly one of the most unique and enjoyable golf launch monitors to use, and I have no doubt it will be wildly successful for the company.
The Approach R50 is the world's first launch monitor and simulator all in one unit. And spoiler alert, it's just as cool as it sounds. If you want one? Buy one.
This page contains affiliate links. This means that if you click a link and buy one of the products on this page, we may receive a commission (at no extra cost to you!) This doesn’t affect our opinions or our reviews. Everything we do is to benefit you as the reader, so all of our reviews are as honest and unbiased as possible.
Recent Updates:
November 18th, 2024: Added full video review of the R50.

8 Comments
Great initial review of the Garmin R50, looking forward to your more in depth testing and review. One question I have is how do you align the unit, or align your target line to the unit? Trackman uses a camera system to line up, Foresight uses their metallic alignment stick, what does the R50 do? This is one of my issues with my R10, and one that many owners/fans I believe overlook. If you’re not aligned parallel to this R50 how can you possibly get accurate club and ball data.
With the R50 there’s an alignment mode where you place two balls side by side each in specific zones, and you use these to set the alignment for the device. I haven’t spent a ton of time with it yet, but it’s seemed to work well on my first two setups.
Can this be used in a small space.
Do you know what the size of the hitting zone/ball detection area is? It doesn’t seem to be specified in any of Garmin’s documentation.
I dont have exact measurements, but it’s on the smaller side. If I were guessing I’d say maybe 8″ x 8″ or there abouts.
What size is the hitting zone for the R50 and can you setup a display with both he USB-C and HDMI outputs?
Do you need a WiFi connection to use this at all times (i.e., at the driving range)?
Nope. You can download any Home Tee Hero courses to the device, and use them and all the practice features without wifi.