

This is the guide I wish existed every time somebody emails me asking whether the PlayBetter SimStudio is worth buying.
There’s surprisingly little written about these, and a lot of you are shopping for exactly this setup right now.
So I dug into what they include and where this option makes sense. This is the complete breakdown of what you’re getting and what you should expect.
Every indoor golf simulator setup comes down to three jobs. Something has to read your shot. Something has to run the software. And something has to show you the result.
Reading your shot is obviously the launch monitor. And that’s the area where I focus most of my Breaking Eighty attention. The launch monitor is the brains of the operation, and it typically (though not always) ends up being the most expensive single piece.
Running the software is a computer, a tablet, or in some cases your phone. This is what turns the numbers into a virtual golf course or driving range or practice challenge.
Showing the result is the projector and the impact screen. The projector throws the image, and the screen is the canvas that doubles as the visual of your sim golf experience and the surface that collects the golf shots.
Wrapped around all of that is the physical space. The enclosure that frames the screen, the mat you stand and hit on, and the barriers that keep stray shots contained.
The PlayBetter SimStudio is that whole physical space, plus the projector and mats, sold as one kit. You can buy a SimStudio package paired with a launch monitor, or you can buy a package that includes all of the components except the launch monitor.
That decision is the first fork in the road, so let’s start there.
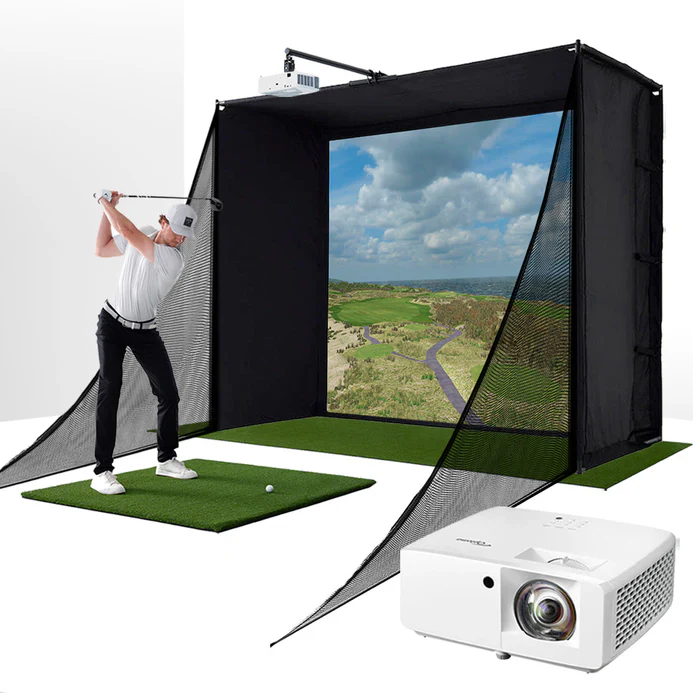
A full golf simulator studio in one kit, from the enclosure and impact screen to the mat and projector. Four sizes, a few build levels, and it works with the launch monitor you already own, or you can choose a package that includes a launch monitor.
Two Ways to Buy a PlayBetter SimStudio
The two paths break down like this.
Path one is the studio by itself.
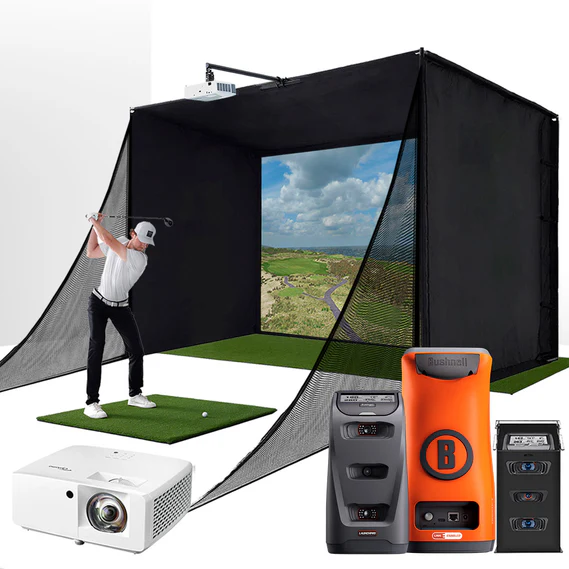
This is if you already own a launch monitor like a Bushnell Launch Pro, Mevo Gen 2, Garmin R50, whatever it is, and you just need the apace built around it. You buy the studio and use the launch monitor you already have.
Path two is turnkey.
You buy the studio with a launch monitor bundled in. PlayBetter pairs the two, and you get everything as one bundle. So if you don’t already have a launch monitor, this is definitely the easy and likely smart option.
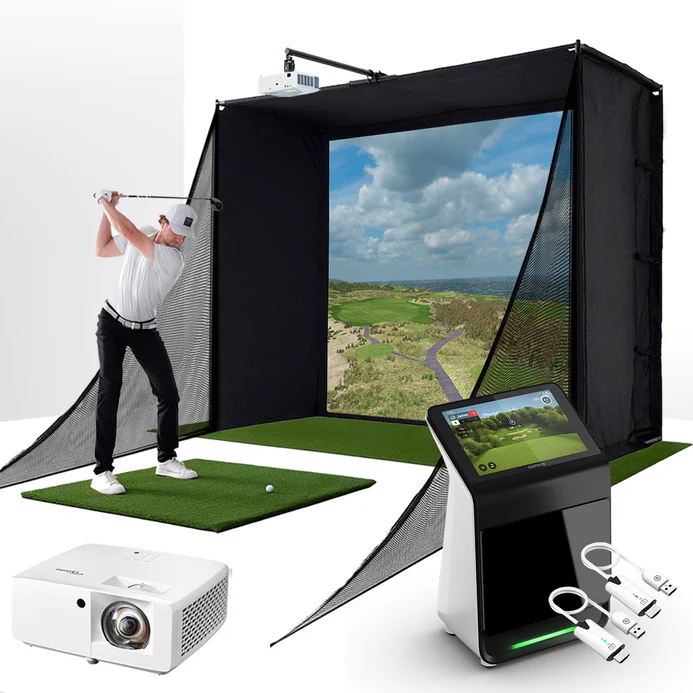
What Comes in the Box (and What Doesn’t)?
Whichever path you pick, you’re also choosing how complete you want the studio itself. PlayBetter sells it in a few trims, cheapest to most complete:
- BYO (build your own): Enclosure, screen, and frame. You supply the mats, projector, and side barriers yourself.
- Essentials: Enclosure, screen, frame, a 5×5 hitting mat, and the projector. No putting turf, no side barriers.
- Complete: Everything in Essentials plus landing and putting turf, side barriers, and the option to upgrade the projector.
For most people, I’d look at the Complete package options, and I’ll explain why by walking through the pieces.
The enclosure and frame are the skeleton. It’s a snap-together design that holds the impact screen taut and gives the whole thing its shape. A tight screen matters a lot. You don’t want the ripples and creases on your screen that compromise the image.
The impact screen is what you hit into, and it’s built to take a beating from real golf balls at full speed while doubling as your projection surface.
The hitting mat is 32mm knitted nylon turf. That thickness definitely matters. A thin mat sends the shock of a fat shot straight into your wrists and elbows, and that can really add up if you’re using your sim a lot.
And you’re definitely going to want a projector, unless you’re building a sim space with a hitting net instead of a projected image. If you already have a projector, that’s when the BYO option might make sense. Otherwise, I’d look at the Essentials or Complete packages.
The putting and landing turf is the piece that the Essentials option leaves out. But if you care about adding any putting to your setup, whether it’s for sim rounds or just standalone practice, you’re going to want it. And even if you don’t, you still need something to deaden the ball when it hits the floor coming down from the screen. So, again, I think including this turf in your package is a good idea.
The side barriers are the other Complete-only piece. And I do think that you can get away without them. But including them is probably a pretty good idea. The first time you send a shot sideways, you’ll probably be thankful that you have them installed.
The Complete gives you the whole setup, and I just think it probably makes the most sense for most people. But not for everybody, so it’s nice that you do have options.
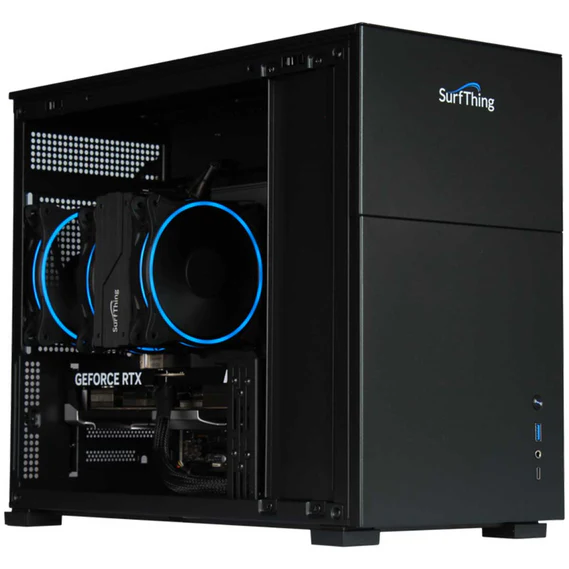
One thing to note is that none of these packages include a computer. So depending on what kind of software you plan to run, you may still need to add in your own gaming PC.
PlayBetter sells SurfThing PCs that are built specifically for golf simulator use. You can even order your model with the software of your choice preloaded on the machine.
The next call is how big you want the sim studio to be.
The Four Sizes, and How to Pick
This is obviously where you’re going to need to measure your space to see what works for you. Here are your PlayBetter SimStudio choices:
- SimStudio8: 8 ft. wide, 7.5 ft. tall, 4 ft. deep. Floor-mounted projector.
- SimStudio10: 10 ft. wide, 8.5 ft. tall, 5.3 ft. deep. Probably the sweet spot for a typical garage setup.
- SimStudio12: 12 ft. wide, 8.5 ft. tall, 5.3 ft. deep.
- SimStudio13 Deep: 13 ft. wide, 10 ft. tall, 10 ft. deep.
My advice would be to go for as large as your space and your budget allow. Bigger is better in terms of the realism of the experience. A bigger image, a more commercial or professional look and feel. If you can afford it and your room is big enough, I’d recommend stretching.
The 8 is obviously best for tighter spaces. It fits in spaces with only 8-foot ceilings. But honestly, unless you’re shorter, I don’t think 8 feet of ceiling height is enough. So really, I’d only recommend this option if cost or space is holding you back. Just keep in mind that for most people with only 8 foot ceilings, you’re likely not going to be hitting much more than a wedge unless you’re ok with some holes in your ceiling.
The bigger you go, the more expensive it gets.
While the 8 requires the projector to be floor-mounted, once you go above that, you can mount the projector directly to an attachment that’s part of the SimStudio enclosure.
The 13 Deep is the ultimate studio. But you’re going to need at least 10-foot ceilings and an overall large room. If your room can handle it, this is what’s going to feel the most big-time.
About the Projector
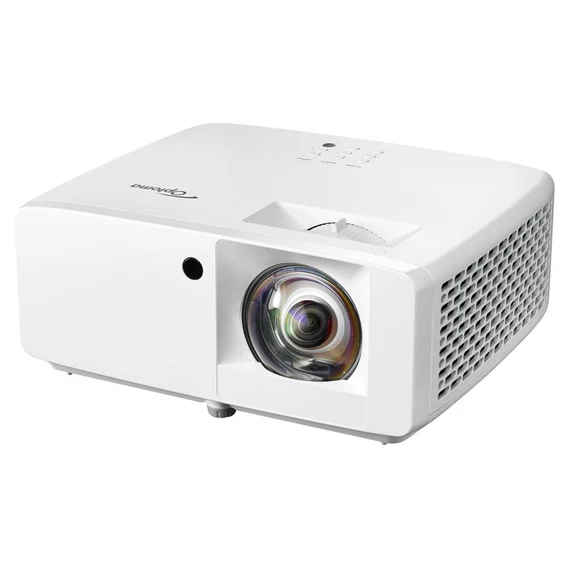
The standard projector in the PlayBetter SimStudio is the Optoma ZW350ST. It’s a legitimately capable short-throw unit:
- WXGA (1280×800) native resolution
- 3,600 lumens
- DuraCore laser light source rated for 30,000 hours
- 0.52:1 short throw
- HDR10 and HLG support
This is a laser light engine, not a lamp. So no bulbs to replace or gradual dimming over the years, and it powers on to full brightness instantly instead of warming up. And at 30,000 rated hours, you could run it for four hours a day for two decades.
The optional upgrade is the Optoma GT2000HDR for about $500 more. The real advantage is with a sharper image:
- Full HD 1080p (1920×1080) native resolution instead of WXGA
- 3,500 lumens
- The same DuraCore laser rated for 30,000 hours
- 0.496:1 short throw
- HDR10, HLG, 4K input support
On a larger screen, the jump from WXGA to native 1080p is real, and the upgrade is easy to justify.
Personally, I’d spend the extra money for the better projector, but if you have a smaller screen or tighter budget, the standard ZW350ST will be just fine.
What It Costs, and the Discount
Prices vary considerably, especially when you buy a turnkey package that includes a launch monitor. As you likely know, that component alone can range from a couple hundred bucks to tens of thousands.
So this section is more of a loose guideline. You’re going to want to dive into the specific packages to get specific prices.
The studio-only Complete packages generally land in the low-to-mid four figures, roughly $4,000 to $4,500 for most sizes with the standard projector.
Essentials sits a bit under that since it drops the putting turf and side barriers.
And BYO sits under that again.
The 1080p projector upgrade adds around $500.
And, as I said, turnkey packages scale up from there depending on which launch monitor you go with.
If you use the PlayBetter Discount code BE10 on any of these options, you’ll knock $300 off the retail price. Full disclosure, if you go that route, I do get a commission. Doesn’t bother me at all if you want to skip that. I still want to help you find the right choice for your setup.
Setup, Shipping, and Support
Delivery shows up in regular boxes, not on a freight pallet, so you don’t have to schedule a special delivery.
For overall assembly, which mostly is the piecing together of the frame and the velcroing on of the impact screen, you’re most likely looking at a half-day’s job with a couple of people.
I’ve heard from plenty of people who do this without any help at all. But most of the time and for most people, I think having a helper on hand is going to make the whole thing much smoother.
There’s always the option to hire a handyman or someone to install it for you, and if that’s in your budget, that could end up being your best option of all.
But even if you’re not overly handy, this is not a massive undertaking. It’s a bit of a project, sure, but not an insurmountable one or one that you’ve really got to be super handy to tackle.
You get a 30-day return window with no restocking fee on these PlayBetter SimStudios, so that takes some of the pressure off. But just know that you’ll have to cover return shipping if you send it back.
I’ve had a great relationship with the PlayBetter team for a long time. They’re good people, and they pick up the phone. If you run into issues, they’re going to take care of you.
Who Should Buy a PlayBetter SimStudio, and Who Should Skip It?
I honestly think one of these package options makes sense for most people trying to build an indoor sim setup.
Yes, you can go the DIY route if you want, but to me, you’re just asking for headaches and a lot of unnecessary work. Then again, I’m probably not as handy as you may be.
You can source each of the components individually if you want. But, again, I’m just not sure you’re going to realize a big savings by doing it that way. I think this is more realistic if you’re looking to go more high end with your components.
If you’ve got a specific hitting mat in mind or a 4K projector or some other component different than what’s included in one of these SimStudio packages, that’s when I’d skip these PlayBetter options and look elsewhere or go with more of an à la carte approach to putting this all together.
But if you’ve been struggling with option overload and trying to figure out how all of the individual pieces of a SimStudio fit together to make your dream of indoor golf a reality, a PlayBetter SimStudio helps you keep it simple.
And it’s probably the fastest way to start playing golf from the comfort of your home.
A full golf simulator studio in one kit, from the enclosure and impact screen to the mat and projector. Four sizes, a few build levels, and it works with the launch monitor you already own, or you can choose a package that includes a launch monitor.
This page contains affiliate links. This means that if you click a link and buy one of the products on this page, we may receive a commission (at no extra cost to you!) This doesn’t affect our opinions or our reviews. Everything we do is to benefit you as the reader, so all of our reviews are as honest and unbiased as possible.
